
The Importance of Tile Selection
Selecting the right tile is a crucial decision for any renovation or construction project. Tiles not only add aesthetic value but also serve practical purposes such as durability, easy maintenance, and thermal efficiency. When you consider that tile is available in diverse materials, styles, and colors, the choices can quickly become overwhelming. Moreover, selecting the wrong tile can lead to dissatisfaction and may result in costly changes later.
Understanding your options and making informed choices can enhance the functionality and beauty of your space. Furthermore, integrating your tile selection seamlessly with your overall design vision can transform rooms. Be sure to explore the tile options at various locations to find those that align with your style and budget.
Understanding Tile Types
Tiles come in different materials, each providing unique benefits and aesthetics. Here’s a closer look at the main types:
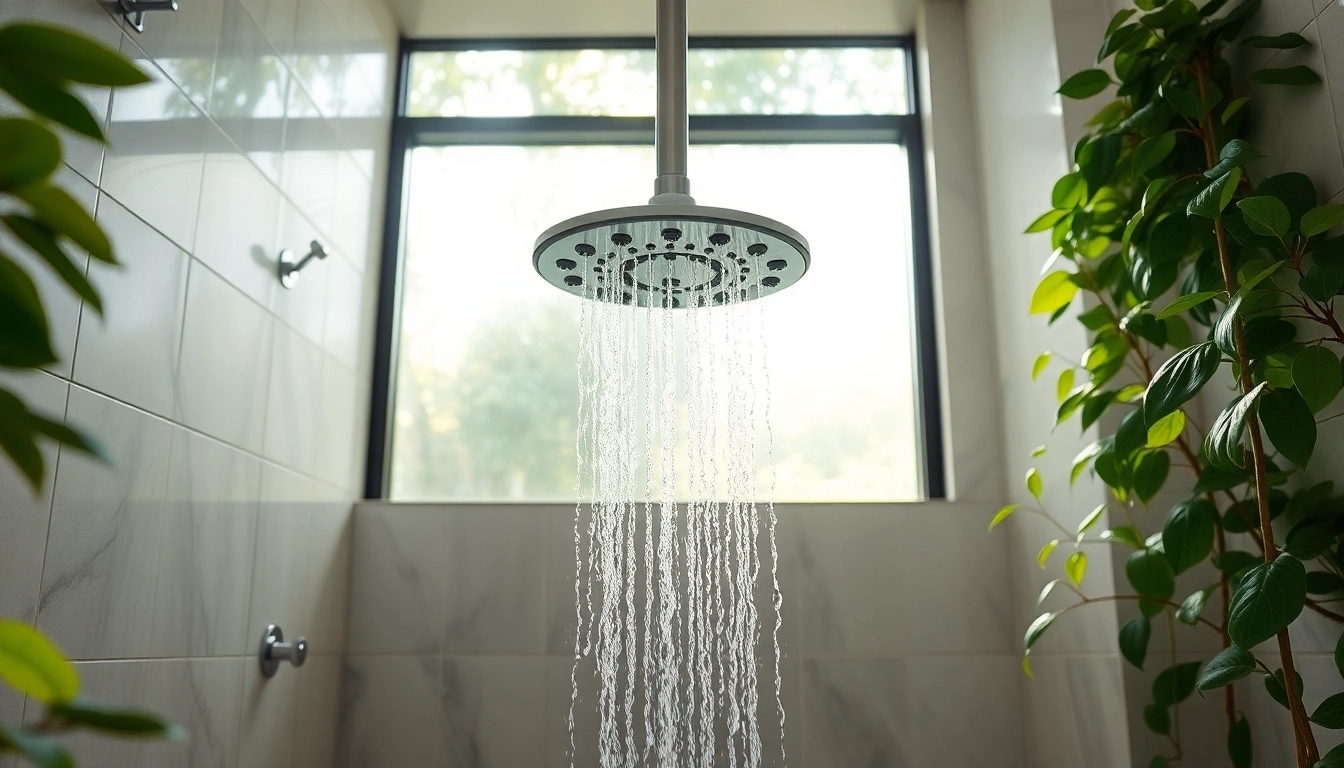
1. Ceramic Tiles: Durable and versatile, ceramic tiles are made from natural clay and perfect for a variety of applications. They are especially popular for bathrooms and kitchens due to their water resistance.
2. Porcelain Tiles: A subtype of ceramic, porcelain tiles are fired at higher temperatures, making them denser and more water-resistant. Ideal for high-traffic areas or outdoor spaces, they offer durability and low maintenance.
3. Natural Stone Tiles: This category includes granite, marble, slate, and limestone. Natural stone tiles provide unmatched beauty but require more maintenance to keep them looking pristine.
4. Glass Tiles: Often used for accents or backsplashes, glass tiles can add reflective qualities to a space and are easy to clean. They are less commonly used on floors due to their slipperiness.
5. Vinyl Tiles: Affordable and easy to install, vinyl tiles are suitable for DIY projects. They come in a wide range of designs but may not be as durable as other options.
6. Cement Tiles: These tiles are handmade and can feature intricate patterns, making them a trendy choice for vibrant spaces. They are usually porous and must be sealed regularly to prevent staining.
Understanding these tile types helps in making the right selection based on aesthetic preferences, functional needs, and the specific requirements of each room.
Key Factors to Consider
Choosing the right tile isn’t just about aesthetics; several important factors must be considered, including:
– Functionality: Consider the room’s primary use. For example, a bathroom typically needs water-resistant tiles, while a living area might focus more on design and comfort.
– Durability: Assess the wear resistance of the tile; for high-traffic areas, opt for harder materials like porcelain or ceramic.
– Maintenance: Some tiles require more upkeep than others. Ceramic and porcelain need less maintenance compared to natural stones, which need sealing to prevent staining.
– Budget: Quality tiles can be expensive, but remember to factor in not only the cost of the tiles themselves but also installation and maintenance expenses.
– Aesthetics: Your chosen tiles should complement your overall design. Consider colors, patterns, and textures that enhance your space’s ambiance.
– Installation Method: Different types of tiles may require varying installation techniques. Understanding these can affect your decision based on whether you plan to DIY or hire professionals.
By considering these factors, you can make an informed choice that suits your current needs while also serving future aspirations.
Common Mistakes to Avoid
Tile selection can be tricky, and certain pitfalls can lead to regret down the line:
– Not Testing Samples: Always bring samples home to see how they look in your space under different lighting conditions.
– Ignoring Practical Uses: Don’t select tiles based solely on beauty; ensure that they suit the room’s functionality.
– Overlooking Slip Resistance: Particularly for floors, ensure the tile has a suitable slip resistance rating.
– Miscalculating Quantities: Measure accurately and account for waste, as underestimating can lead to running out of materials.
– Choosing Trend Over Timelessness: While trendy designs can be appealing, consider whether they will stand the test of time. Some styles may date quickly, requiring renovations sooner than you planned.
Avoiding these common mistakes will set the stage for a successful and satisfying tile selection experience.
Best Practices for Tile Installation
A well-executed tile installation not only enhances the overall beauty of the area but also contributes to the longevity and performance of the tiles.
Preparation Steps Before Installation
Before diving into tile installation, thorough preparation is essential:
1. Surface Preparation: Ensure that the surface is clean, dry, and smooth. Remove old tiles or flooring and repair any damage.
2. Layout Planning: Visualize how the tiles will be laid out. Use chalk lines to create guides and avoid ending up with tiny cuts at the edges.
3. Gathering Materials: Ensure you have all materials on hand, including tiles, thin-set mortar, grout, spacers, and tools.
4. Acclimatization: If using natural stone or any tiles that might expand or contract, acclimate them to the room temperature before installation to reduce shifting later.
5. Understanding Local Codes: Be aware of local regulations regarding flooring to ensure compliance in installation.
Organizing these preparation steps leads to seamless installation and a more rewarding outcome.
Choosing the Right Tools
Having the appropriate tools can make the installation process smoother and more efficient:
– Tile Cutter: A manual or electric tile cutter is essential for making precise cuts.
– Trowel: A notched trowel is necessary for applying thin-set mortar evenly.
– Grout Float: This tool is used for pushing grout into the joints and ensuring a smooth finish.
– Level: A level is vital to ensure that the tiles are laid evenly.
– Measuring Tools: A tape measure, square, and chalk line tool are crucial for accurate layout.
Using the right tools will help mitigate errors and enhance the overall quality of the installation.
Step-by-Step Installation Guide
Here’s a step-by-step guide to successfully installing your tiles:
1. Mix the Thin-Set Mortar: Follow manufacturer instructions for mixing. The consistency should be similar to peanut butter.
2. Apply Mortar: Using the notched trowel, apply mortar on a small section of the floor or wall where the tile will be placed.
3. Lay the Tiles: Press the tiles into the mortar with a slight twisting motion to ensure they adhere properly.
4. Use Spacers: Insert spacers between tiles to maintain even gaps for grout.
5. Cut Tiles as Needed: For edges or corners, measure and cut tiles with a tile cutter.
6. Allow Mortar to Set: Let the mortar cure as per the manufacturer’s instructions before proceeding to grouting.
7. Grout the Tiles: Once the tiles are set, remove spacers and apply grout using a float, filling all joints entirely.
8. Clean Excess Grout: After the grout begins to set, wipe excess grout off the tile surface with a damp sponge.
9. Seal the Grout: Once dried, apply a grout sealer to protect from moisture and staining.
By following these detailed steps, you can ensure a professional-looking installation that enhances your space’s aesthetic appeal and functionality.
Maintenance Tips for Long-Lasting Tiles
Maintaining tiles requires regular care to preserve their appearance and functionality over time.
Daily Cleaning Routines
Establishing a daily cleaning routine can significantly prolong the life of your tiles:
– Dust and Sweep: Regularly dust and sweep or vacuum to remove dirt and debris.
– Mop Frequently: Use a damp mop with a pH-neutral cleaner to keep tiles clean without damaging the finish.
– Spot Clean Immediately: Wipe up spills promptly to prevent staining, especially on grout lines.
– Avoid Harsh Chemicals: Use cleaners specifically designed for the type of tile; avoid acidic or abrasive cleaners that can damage surfaces.
By incorporating these habits into your routine, you will minimize wear and tear while keeping your spaces looking their best.
Preventing Damage and Wear
Preventative maintenance is crucial for safeguarding your tiles against damage:
– Use Rugs and Mats: Place rugs in high-traffic areas, especially near entrances, to minimize dirt and wear.
– Allow for Movement: For large installations, leave small expansions gaps at edges to allow for movement without cracking tiles.
– Select Appropriate Cleaning Tools: Avoid using stiff brushes that can scratch tile surfaces. Soft mops and cloths are ideal.
– Seal Natural Stone: If you’ve chosen natural stone, apply a sealer as instructed to prevent stains and moisture absorption.
Being proactive with these tips helps maintain the integrity of your tiles and keeps them looking new longer.
Restoration Techniques for Old Tiles
Tiles can face wear and tear over time, but several restoration techniques can help rejuvenate their appearance:
– Deep Cleaning: For heavily stained areas, consider using professional cleaning services that utilize steam cleaners and specialized products.
– Regrouting: Old grout can appear discolored or cracked; stripping and regrouting can give your tiles a fresh look.
– Replacing Damaged Tiles: If tiles are cracked or broken, replace them with matching tiles, ensuring that the area is appropriately prepared.
– Polishing: Some natural stone tiles can benefit from a polishing technique to restore their luster and remove etching.
Implementing these restoration techniques keeps your spaces looking polished and well-maintained.
Trending Tile Designs and Styles
The world of tile design is ever-evolving, offering countless styles and trends to explore.
Popular Colors and Patterns
Tile aesthetics significantly influence overall design, and popular trends often include:
– Neutral Tones: Neutrals such as whites, grays, and beiges remain popular for their versatility and ability to blend well in various styles.
– Bold Patterns: Geometric and graphic patterns are trending, helping to create focal points in kitchens and bathrooms.
– Textured Tiles: Textured surfaces provide depth and interest, creating tactile experiences that enhance visual appeal.
– Subway Tiles: Classic subway tiles in unique colors or with textured finishes are seeing renewed popularity for backsplashes and accent walls.
This variety allows homeowners to express their personalities while adhering to current trends.
Tiles in Home Decor
Tiles can contribute significantly to home decor and can be used in diverse applications:
– Backsplashes: Use tiles creatively in kitchens to create stunning backsplashes that serve as both practical and aesthetic features.
– Accent Walls: Tiles can enhance the drama of an accent wall, offering endless design possibilities.
– Flooring: From traditional to modern, the right tiles can establish a space’s character.
– Outdoor Spaces: Extend your home’s aesthetic outdoors with patio tiles that can withstand the elements while remaining attractive.
Incorporating tiles thoughtfully throughout your home can significantly enhance your decor while remaining functional.
Designing with Tiles: Room by Room
Each room in your home presents unique opportunities for tile design:
– Kitchens: Consider colorful or patterned tiles for backsplashes, combined with durable flooring options like porcelain.
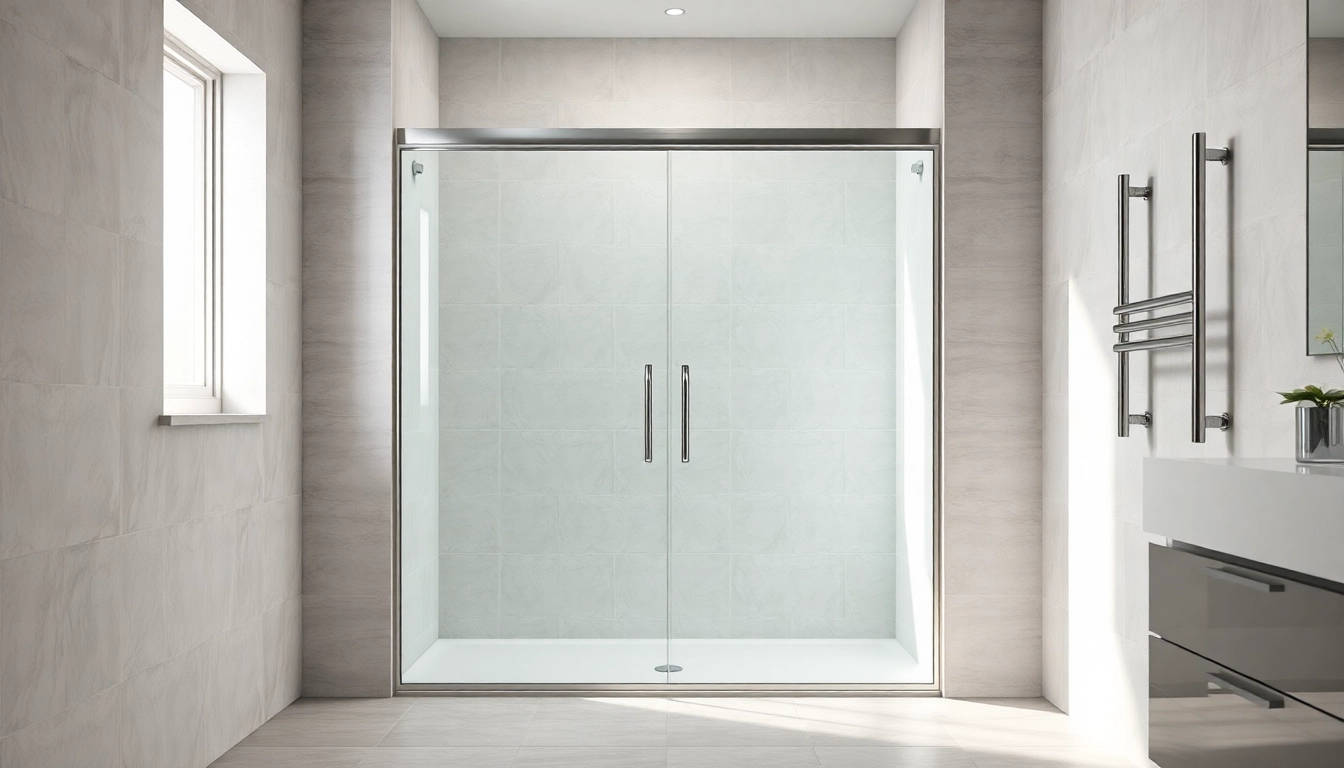
– Bathrooms: Use water-resistant tiles and add textures or patterns for a spa-like ambiance.
– Living Rooms: Tiles can be used as accent walls or flooring, maintaining a beautiful aesthetic while being easy to care for.
– Entryways: Opt for durable tiles that can handle high traffic while offering a welcoming entrance.
Tailoring tile choices to specific rooms ensures cohesive interior design while fulfilling each space’s functional needs.
When to Consult a Professional
While many aspects of tile installation and maintenance can be DIY-friendly, certain situations merit professional intervention.
Identifying Complex Installations
Not all tile installations are straightforward:
– Intricate Patterns: When laying intricate patterns that require sophisticated cuts, seeking a professional ensures a clean finish.
– Large Areas: For expansive spaces, professionals can help manage tile weight and ensure proper alignment.
– Subflooring Issues: If your subfloor shows signs of water damage or instability, consulting experts before proceeding is essential.
Recognizing when to reach out for help can save time, effort, and materials.
Cost vs. Benefit of Hiring Experts
Understanding the cost versus benefits of hiring tile contractors is key:
– Quality Assurance: Professionals will often guarantee their work, reducing the risk of mistakes.
– Time-Saving: Experts can complete installations faster than a DIY attempt, saving valuable time.
– Design Expertise: They can guide you on tile selection and layout, ensuring that your vision is correctly represented.
While hiring experts may seem costly initially, the benefits often outweigh the expenses, leading to more satisfactory outcomes.
Finding Qualified Tile Contractors
If you decide to hire a professional, it’s essential to find a qualified contractor:
– Get Recommendations: Seek referrals from friends or family who have had similar work done.
– Review Portfolios: Always check their previous work to ensure their style aligns with your expectations.
– Check Qualifications: Confirm their licenses, insurance, and warranty provisions before hiring.
– Get Multiple Quotes: It’s wise to obtain quotes from various contractors to compare pricing and services offered.
Taking these steps helps ensure you find a contractor who will deliver quality results that meet your expectations.
FAQs
1. How do I know what tile is best for my area?
Consider the room’s use, moisture levels, and foot traffic. Porcelain is good for high-traffic areas, while ceramic works well in bathrooms.
2. Can I install tiles myself?
Yes, but ensure you’re comfortable with measurement, using tools, and the type of installation. Some intricate designs may be better left to professionals.
3. What is the best way to clean grout?
Use a mixture of baking soda and water or a pH-neutral cleaner. Scrub with a soft-bristled brush for best results.
4. Are there environmentally friendly tile options?
Yes, many manufacturers now offer recycled or sustainably sourced tiles, including porcelain and glass, that are eco-friendly.
5. How often should I seal my natural stone tiles?
Generally, natural stones should be sealed every 6 to 12 months, but always check specific product guidelines for best results.